Resource Highlights
In this article, we talk about some simple best practice procedures, you can ensure a noise and vibration-free brake job, significantly reducing the possibility of any braking comebacks.

The last thing you want when you’ve performed a straightforward brake job is the customer returning a short while later with a complaint. Yet unfortunately brakes are one of the biggest sources of customer comebacks for many garages. They needn’t be! Because whilst some issues are outside the technicians control, others can be avoided from the outset. By following some simple best practice procedures, you can ensure a noise and vibration-free brake job, significantly reducing the possibility of any braking comebacks.
Inspect: Before replacing any parts, conduct a thorough inspection of the braking system including the condition of the pads, discs, calipers, mounting hardware and parking brake cables etc. Pay particular attention to how components such as the brake pads have worn as this can help to identify possible causes. It also pays to inspect the rest of the vehicle, as certain complaints such as brake noise, can be accentuated, mimicked and even caused by other systems. Missing vital and often simple clues at this stage could result in a comeback.

Clean: Before the disc is installed it’s important to ensure that the hub and disc mounting faces are scrupulously clean and free from any rust, dirt or grease that could affect the runout of the assembly. Any contaminants remaining on the disc’s mounting surface could also transfer to the pads, reducing their friction coefficient. Yet unfortunately this process is all too often ignored. Use a cloth and appropriate solvent to clean the disc, and a wire brush for the hub. Also, wear clean latex gloves during installation to avoid further contamination.
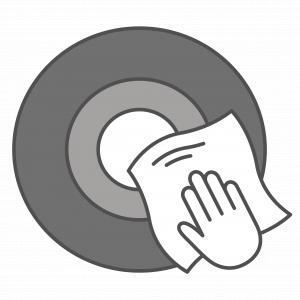
In addition to disc cleanliness, examine the caliper and its mounting hardware, ensuring that all corrosion, built up dirt and brake dust is removed, as this can easily affect caliper fit and movement. Again, use a wire brush to remove any rust or dirt from the caliper brackets/guides, clean or replace the hardware, and clean all pad contact points. Failure to do this during brake servicing can result in seized/sticking pads, brake noise and premature wear.
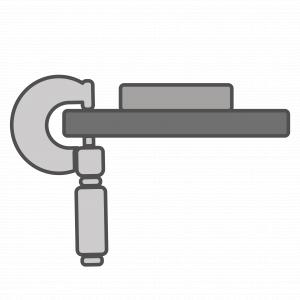
Measure: Before refitting, check the disc for any variations in thickness. Using a brake disc micrometer measure the disc’s thickness, at six to eight equidistant points around its perimeter – never from a single spot - and 10mm from the edge. Compare the results to specification. If it’s outside the manufacturer’s tolerances then it cannot be serviced and must be replaced; as a rule of thumb, the maximum allowable thickness variation is around 0.015mm.
Once fitted, use a dial indicator to check the disc’s lateral runout. The disc must be securely fitted and evenly bolted up on the hub and the dial test indicator securely anchored to a non-moving fixture such as a control arm. Position the plunge tip about 10mm inside the rotor edge at a 90° angle, zero the gauge and slowly rotate the disc through 360°, recording maximum and minimum runout as well as the disc’s location on the hub. Whilst tolerances will vary from make to model, less than 0.05 to 0.10mm is a good target for maximum runout limit. If runout is out of tolerance recheck the disc fitment onto the hub, if this is correct remove the disc and measure run out on the wheel bearing/hub unit too. Disc runout may or may not be caused by disc thickness variation. So, if there’s no evidence of disc thickness variation, then the disc may be rotating of its true axis as a result of other damage or hub face contamination. Either way, excessive run out will eventually lead to disc thickness variation and a vibrating/pulsating brake pedal. The root cause must therefore be identified and fixed.
Lubricate: Apply a high-performance brake grease to all metal-to-metal contact points between the brake pad and caliper. Never coat the friction material, the disc’s surface or rubber parts/shims.

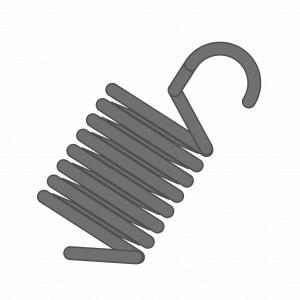
Replace hardware: Always replace pad-to-caliper hardware i.e. anti-rattle clips, adjustment springs and pins when installing new pads. These are exposed to the same heat, moisture and corrosion as the pads and discs and will gradually lose their tension, allowing unwanted vibration and movement between the pads and caliper that can create and amplify noise. Pad hardware is cheap, but failure to replace it with new could cause a noise related comeback, and negatively impact braking performance and durability.
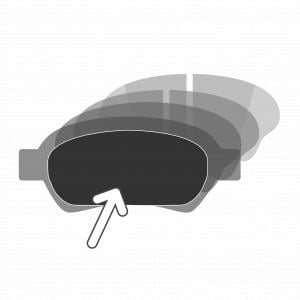
Use shims: Shims provide further insulation against both vibration and heat and should never be ignored. Quality brake pads, such as Delphi, come with OE shims either preinstalled or loose as per the OE. If loose, remember to position the shim correctly on the back of the pad before installing, otherwise it might create more noise than it absorbs. And as a rule, don’t reuse shims. They are exposed to significant force every time the brakes are applied and will lose their elasticity and ability to dampen over time. The only exception to this is stainless steel shims assuming they are both clean and not corroded or bent.
Torque: Brake components and wheels need to properly torqued on reassembly. Unevenly or over torqued wheels can lead to a warped disc hat, especially on thin-hat discs, whereas excessive torque on the discs positioning screws could distort the hub contact surface – both could cause pedal pulsation. Refer to the vehicle handbook for the correct specifications.
Road test: Last but not least, perform a full road test to properly bed-in in the pads and discs, with 10 stops at 60% braking effort, from 60mph to 20mph. During this procedure try to avoid heavy 100% braking or activating the ABS, and never leave your foot on the brake pedal. This will allow the two mating surfaces, the pad and disc, to transfer a layer of material to each other – pad to disc and disc to pad – in order to seat together and deliver optimal braking performance from the outset.
By following a few best practice procedures such as proper cleaning, measuring, lubing and importantly only installing quality parts, with new hardware, brake job comebacks can be easily avoided.
Watch below to see how to replace a brake pad and disc:
SIGN UP TO FIND MORE
Fill up your details to hear more from our experts and get the latest updates from Delphi.


