Resource Highlights
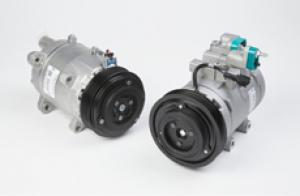
In this article you will find out about the 10 steps to follow when installing a compressor.

1. | PreperationClean A/C SystemEnsure the A/C system is clean – closed loop refrigerant flushing is recommended. If chemical flushing is used, all chemical flushing agents must be removed from the system.
|
2. | LubricateOil Balance SystemOil balance system – use the correct type and amount of refrigerant lubricant. |
3. | ServiceSuction ScreenService suction screen installation – prevents system debris from damaging new compressor. |
4. | CheckEvacuation & ChargingAccurate evacuation and charging – new systems have charge weights of +/- one ounce. |
5. | CheckLeak CheckLeak check entire air conditioning system – replacing compressor may not correct the system leak that caused previous compressor failure. |
6. | CheckCycle SwitchCheck cycle switch performance – improper operating switch, not shut off as specified, will cause repeat failure. .jpg?sfvrsn=e167bcc9_1) |
7. | FitFitting CompressorConfirm OEM manufacturer air conditioning system performance – the compressor is not the only contributor to air conditioning performance.
|
8. | InstallInstallationTurn the compressor shaft at least 4 times, prior to installation on the vehicle – if unable to rotate by hand, a turning tool or spanner wrench must be used. Do not use a socket directly on the shaft nut or bolt. |
9. | ReplaceReplace ComponentsReplace non-flushable components – parallel flow condensers and hose assemblies with mufflers after a catastrophic compressor failure. |
10. | CheckCheck VoltageCheck voltage to coil – especially if previous compressor experienced clutch failure. |
SIGN UP TO FIND MORE
Fill yp your details to hear more from our experts and get the latest updates from Delphi.

Diagnostics
Discover our extensive range of OE-level diagnostic and test equipment for quicker, more accurate servicing and repairs.

Training
Choose from our expert-led, accredited training courses to enhance your skills and prepare you for the vehicles of tomorrow.

Find out where to buy Delphi parts